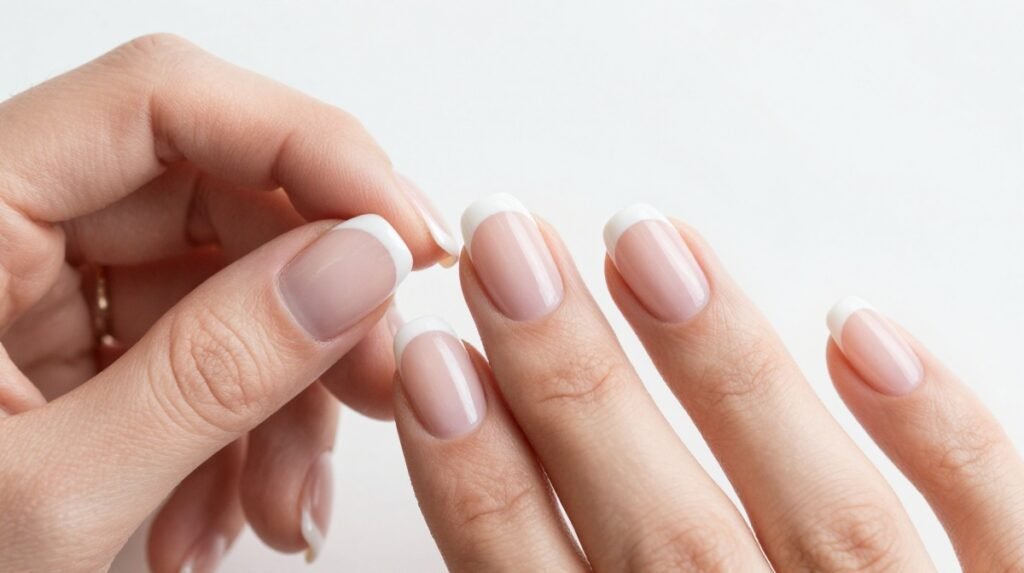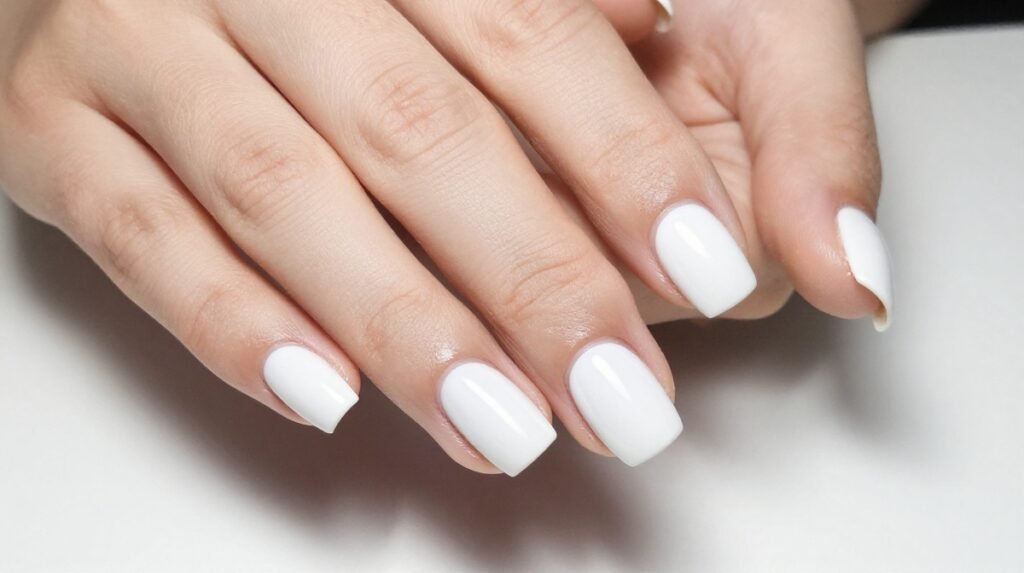
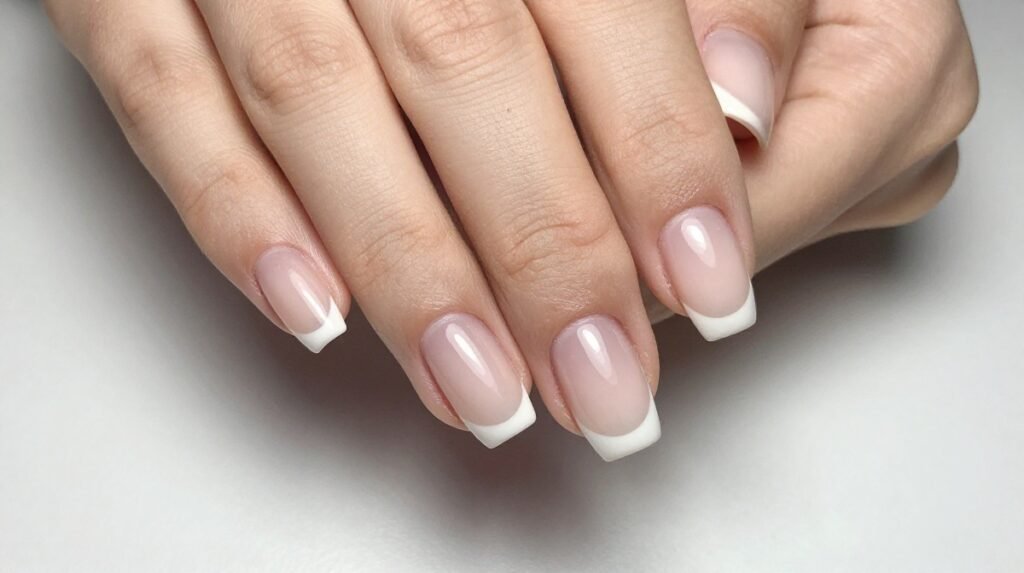
There’s something about a soft French ombre manicure that instantly makes your hands look polished, elegant, and suspiciously expensive. You know the vibe: sheer pinky-nude nails melting into creamy white tips with absolutely no harsh French line. Just soft, glossy perfection.
And honestly, I get why this manicure keeps showing up all over Pinterest. It works with jeans and a white tee, a wedding guest dress, office outfits, gold jewelry, cozy sweaters—you name it. Unlike louder nail trends that demand attention, French ombre nails quietly make everything else look better. Very “I woke up this polished” energy. ✨
1. Start With the Perfect Nail Shape
Before you even touch the polish, choose a shape that makes the ombre effect look intentional. Almond, soft square, oval, and short squoval nails all work beautifully, but almond nails create that especially elegant, elongated effect.
If you love a more natural everyday manicure, go for a short oval or squoval shape. These shapes feel practical without losing that delicate French manicure aesthetic.
For a glamorous salon look, I’d choose medium-length almond nails. The tapered sides give the white tip more room to fade gradually, which makes the whole manicure look incredibly smooth.
The trick? Keep every nail similar in length and shape. A gorgeous ombre can lose its polished effect when one nail suddenly decides it wants to live a completely different life.
2. Prep Your Nails for a Glassy Finish
A beautiful French ombre manicure starts long before the color hits your nails. Clean your nails thoroughly, gently push back your cuticles, and remove any leftover oils from the nail plate.
Lightly buff the surface if you need to smooth out ridges, but don’t over-buff. You want the nail strong and healthy, not paper-thin because you got carried away with the buffer.
Shape the free edge, wash away dust, and finish your prep with a nail cleanser or alcohol-based wipe. A clean surface helps your base coat and polish grip properly.
I always think of this step as the skincare routine of the manicure. Nobody skips moisturizer and then wonders why their makeup looks weird, right? Same energy.
3. Pick a Sheer Pink or Nude Base
The magic behind soft French ombre nails comes from choosing the right base color. Look for a sheer pink, milky nude, blush beige, or translucent peach that gently enhances your natural nail.
Avoid colors that look too opaque or dramatically darker than your skin tone. The goal should feel like your nails—but upgraded.
For cooler undertones, try a delicate pink or rosy nude. Warm undertones pair beautifully with creamy beige, peachy nude, or soft ivory. If you have a neutral undertone, congratulations—you can basically play in both sections.
Apply one thin layer first. If you want more coverage, build another thin coat instead of applying one thick layer. Thin coats create a much smoother finish and make the ombre easier to blend.
4. Create the Soft White French Fade
Now comes the fun part: creating that dreamy white gradient.
Instead of painting a traditional French tip with a sharp smile line, apply a soft white polish toward the free edge and gently blur the color toward the center of the nail.
A makeup sponge can help you create the fade at home. Dab a small amount of white polish onto the sponge, then lightly tap it across the nail tip. Repeat with thin layers until you get the intensity you want.
Don’t panic if the first layer looks barely visible. That subtle beginning actually helps create the smoothest gradient. Build the white slowly rather than trying to get an opaque tip in one dramatic swipe.
5. Blend Until You Can’t Find the Line
This is where the manicure goes from “cute DIY nails” to expensive-looking nail art.
The transition between pink and white should look almost invisible. If you can clearly see where the pink ends and the white begins, add another very thin layer of sheer pink or nude over the entire nail to soften the transition.
You can also use a small nail art brush to feather the white edge before it dries. Work gently because aggressive brushing can move too much product around and create streaks.
My favorite trick involves patience. Let each thin layer settle before adding another. Yes, waiting feels rude when you’re excited about your nails, but rushing the gradient usually creates the exact harsh line you were trying to avoid.
The finished effect should look like the white is naturally blooming from the nail tip.
6. Try a Short French Ombre for Everyday Glam
Think French ombre nails only work on long extensions? Nope.
Short French ombre nails look incredibly chic and feel much easier to wear every day. They work especially well with oval, squoval, and softly rounded shapes.
Keep the white concentrated around the very edge of the nail and use a sheer pink base to create that blurred transition. Because shorter nails have less surface area, you don’t need a dramatic gradient.
This version works beautifully for work, school, vacations, date nights, and basically every event where you want your nails to look polished without screaming for attention.
7. Make Almond French Ombre Nails Extra Elegant
If you want the full Pinterest-girl manicure, almond French ombre nails deserve a spot at the top of your inspiration board.
The elongated shape naturally draws attention toward the fingertips, while the blurred white tip keeps everything soft and sophisticated. Add a high-gloss finish and suddenly your hands look like they belong in a luxury beauty campaign.
Ask your nail technician for a soft French fade with a milky pink base and creamy white tip. Those words give your nail tech a much clearer picture than simply saying “French ombre.”
For an extra elegant finish, keep the white slightly sheer rather than stark. The softer the contrast, the more seamless the final manicure looks.
8. Add a Milky Top Layer for That Glossy Finish
Want that dreamy milky manicure effect? Add a very sheer milky-pink or translucent nude layer over your completed gradient.
This little trick can soften the white even further and make the colors look like they melt together underneath a glassy finish.
Finish with a high-shine top coat and carefully seal the free edge. That glossy surface catches the light beautifully and makes the manicure look fresh from the salon.
If your nails tend to look dry around the cuticles, finish with cuticle oil after everything fully cures. Hydrated cuticles + glossy nails instantly make a simple manicure look more luxurious.
9. Customize the French Ombre Without Losing Its Softness
The beauty of this manicure lies in how easy it feels to personalize.
You can swap classic white for soft ivory, creamy beige, baby pink, or even a whisper of lavender. The key involves keeping the colors delicate enough to preserve the faded effect.
Want something bridal? Add an ultra-fine shimmer over the top. Want a trendy everyday version? Try a translucent blush base. Feeling slightly more dramatic? Add tiny pearl details or a single crystal near the cuticle.
I’d avoid piling on too much nail art. The whole point of French ombre nails comes from their effortless appearance. Sometimes the prettiest nail art basically whispers instead of shouting.
10. Ask for the Right Salon Technique
If you’re booking a salon appointment, bring a clear reference photo and explain that you want a soft French fade rather than a traditional French tip.
You can also mention whether you prefer a sheer or more opaque base. Small wording differences matter because “French ombre” can mean slightly different things depending on the salon and technique.
For gel or extensions, your nail technician may use a sponge, brush, airbrush, builder gel, acrylic, or layered gel polish to create the fade. The exact technique matters less than achieving that seamless transition.
Show your technician the length and shape you want too. A reference photo removes a lot of guesswork—and saves you from the dreaded “That’s not quite what I pictured” moment at the end.
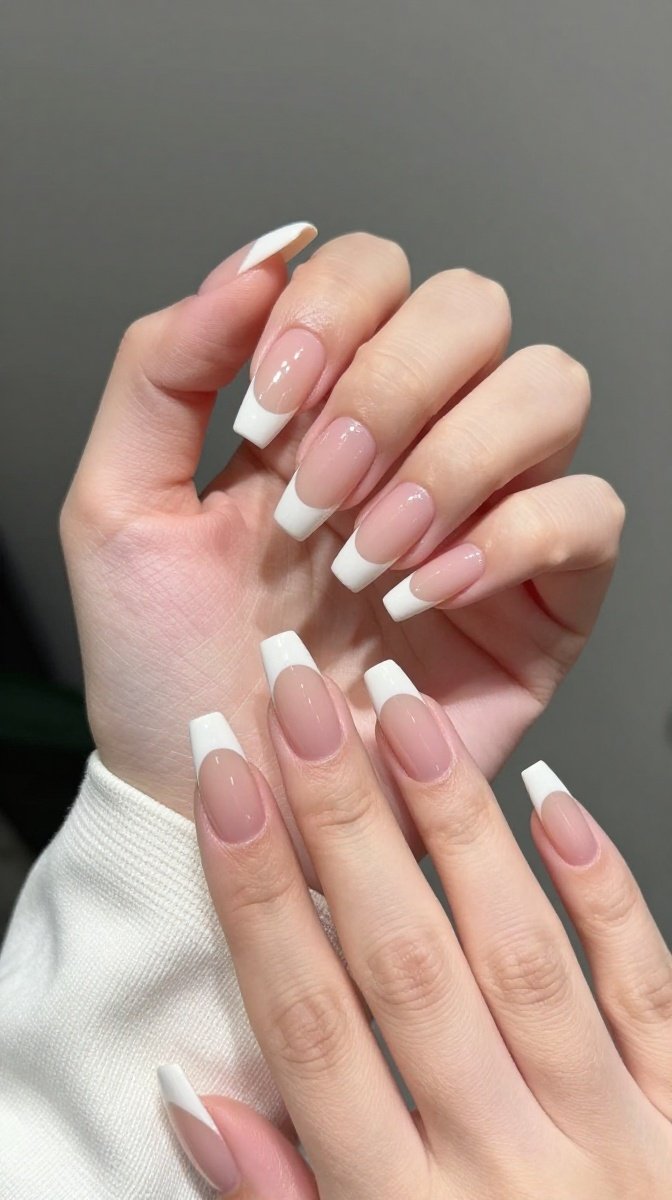
Why Soft French Ombre Nails Look So Expensive?
There’s a reason this manicure keeps appearing in wedding inspiration, minimalist beauty boards, and everyday nail inspiration.
The colors stay close to natural nail tones, the gradient eliminates harsh lines, and the glossy finish catches light without looking overly flashy. The result feels clean, feminine, and effortlessly polished.
Even better, the style works with almost everything in your wardrobe. Gold jewelry, silver rings, denim, neutrals, bright colors, black dresses, cozy knits—the manicure never fights with your outfit.
And because the design doesn’t rely on a bold line at the tip, new growth can look less obvious than with a traditional French manicure. That makes it a smart option if you want a manicure that stays pretty between appointments.
French Ombre Manicure Mistakes to Avoid
A few tiny mistakes can turn that dreamy fade into a streaky situation, so keep these in mind:
- Don’t use too much white polish at once. Thin layers create better control.
- Don’t skip nail prep. Oils and dust can interfere with polish adhesion.
- Don’t rush the blending. Give each layer a moment to settle.
- Don’t choose an overly opaque base. A sheer finish creates the signature soft effect.
- Don’t forget the top coat. Gloss brings the whole manicure together.
- Don’t overdo nail art. The subtle gradient already provides the main visual interest.
Basically, resist the urge to do everything at once. Your nails don’t need a personality crisis.
How to Make Your French Ombre Last Longer?
Once your manicure looks perfect, protect your hard work.
Wear gloves when cleaning, avoid using your nails as tiny screwdrivers, and apply cuticle oil regularly. If you use gel polish, follow the proper curing instructions for your specific products.
Keep your nails moisturized, especially around the cuticles. Dry skin can make even a fresh manicure look less polished.
And if you notice lifting, don’t pick at it. That tiny piece of polish can become an entire manicure disaster faster than you can say “I’ll just peel this one corner.”
Final Thoughts
A soft French ombre manicure proves that beautiful nails don’t need complicated nail art, dramatic colors, or a million tiny rhinestones.
The secret comes down to a flattering nail shape, sheer base color, carefully blended white, and a glossy finish. Whether you choose short squoval nails, elegant almond extensions, or something perfectly natural, this manicure delivers that effortless “my nails just naturally look this good” effect.
So grab your favorite milky pink, soften those white tips, add a glossy top coat, and give the French fade a try. Because life’s too short for boring nails—and honestly, these deserve a spot on your Pinterest board. 💅✨