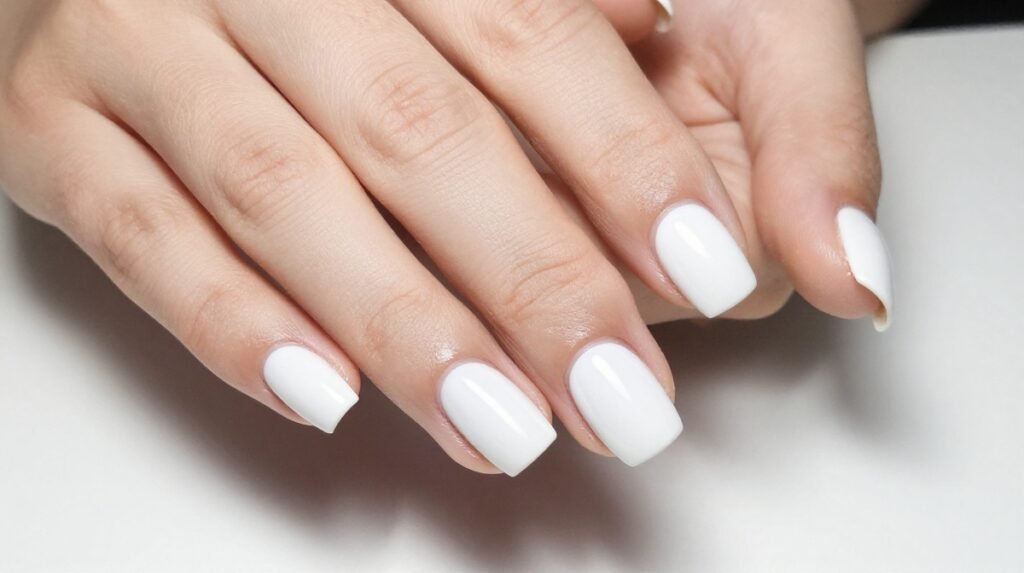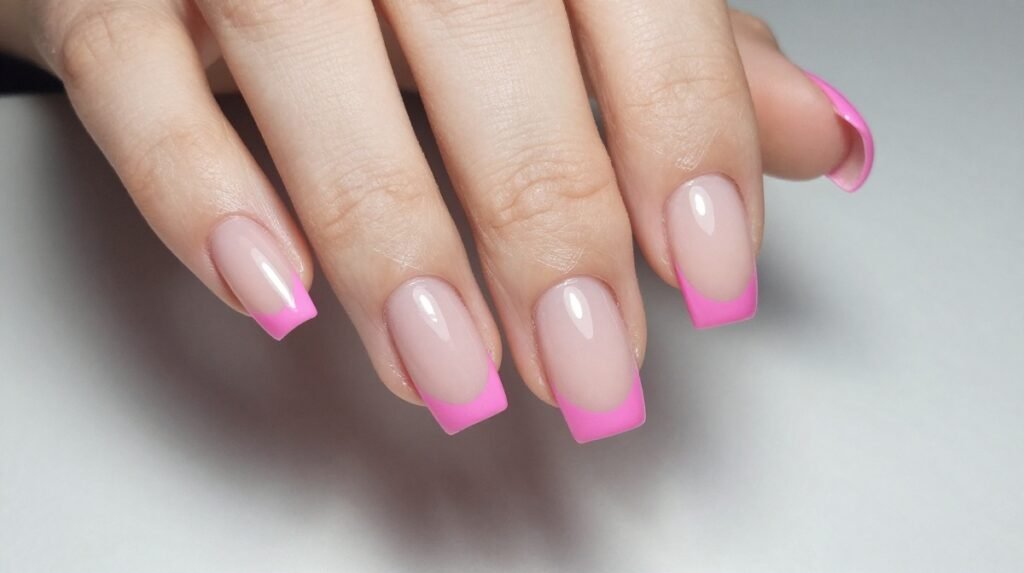
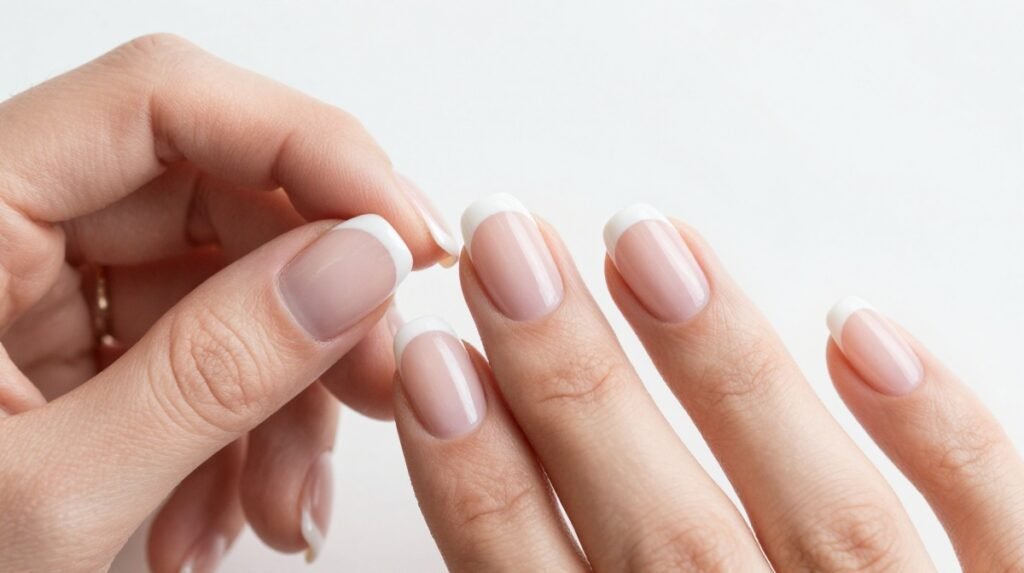
Perfect French tips have that unfair little superpower: they make your hands look instantly polished, elegant, and expensive without trying too hard. The problem? One tiny shaky line can turn “chic salon manicure” into “I definitely did these at 1 a.m.” 😅
The good news? You absolutely can create French tip nails at home with a few simple tricks. Whether you love classic white tips, colorful French manicures, or the minimalist micro-French look flooding Pinterest, the right prep and technique make a huge difference.
1. Start With the Perfect Nail Shape
Your nail shape sets the entire mood of your French manicure. Almond, oval, squoval, and short square nails all work beautifully, but your choice can change the final effect.
For a classic elegant look, try an almond or oval shape. Prefer something practical? Short squoval nails keep the manicure neat while giving you plenty of room for everyday activities.
Before polishing, gently file every nail so the lengths match. Don’t aggressively saw back and forth because that can create rough edges.
A clean shape instantly makes your French tips look more professional. Honestly, half the salon effect comes from good prep.
2. Prep Your Nails Like a Pro
Here’s the unglamorous secret behind gorgeous manicure inspiration: nail prep matters more than fancy polish. Clean nails give your base coat something smooth to grip.
Remove old polish, wash your hands, and gently push back your cuticles. Avoid cutting healthy cuticle tissue at home; instead, use a cuticle softener and gently tidy the area.
Wipe each nail with a little nail cleanser or rubbing alcohol to remove oil. Skip heavy hand cream right before painting because excess oil can cause lifting.
Think of this step as skincare for your nails. A clean canvas makes everything afterward look better.
3. Choose a Sheer Base Color
French tips look especially elegant over a soft, translucent base. Pick a milky pink, sheer nude, creamy beige, or barely-there blush polish.
Apply one thin coat first and let it settle before adding another. You want enough color to make your nails look polished without hiding their natural appearance.
If your nails have noticeable discoloration, choose a slightly warmer nude to create a more even finish. Cool pinks can look gorgeous too, especially with silver accessories.
Don’t pile on thick layers. Thin coats dry faster and give you much more control.
4. Use a Base Coat First
A base coat protects your natural nails while helping your polish adhere. It also creates a smoother surface for your French tips.
Apply a thin layer from the center of the nail toward the tip, then carefully cover the sides. Let it dry according to the product instructions.
If your nails feel thin or peel easily, look for a strengthening base coat. For a basic manicure, though, a regular smoothing base coat works perfectly.
This tiny step can make your manicure last longer and look cleaner. Skipping it saves about thirty seconds and can cost you several days of wear. Not exactly a winning trade.
5. Create the French Tip With a Fine Brush
Now comes the moment everyone fears: painting the actual French tip.
Instead of trying to draw one perfect line from one side to the other, create two small curves that meet in the middle. Rest your pinky or wrist on a table to keep your hand steady.
Use a thin nail-art brush dipped in white polish. Start with the sides of your smile line and gradually connect them.
Keep your first attempt slightly thinner than you think you need. You can always add more polish, but removing a chunky white tip takes considerably more patience.
6. Try the “Dot Method” for Easier Tips
If your freehand skills currently resemble abstract art, don’t panic. The dot method can make French tips much easier.
Place three tiny dots along the edge of the nail: one near each corner and one in the center. Then connect the dots with a fine brush.
You can also place a row of tiny dots and gently drag them together to form the curved tip. This method gives beginners a visual guide without requiring surgeon-level precision.
The trick works especially well with short nails. Small, delicate tips look chic and forgive tiny imperfections.
7. Use French Tip Nail Stickers
Want the easiest possible route? Grab French tip guides or nail stickers.
Apply your base color and let it dry completely. Place the sticker slightly below the area you want to paint, press the edges down firmly, and brush your white polish over the exposed nail.
Peel the guide away while the white polish still feels slightly wet. Waiting until it fully dries can cause the polish to lift with the sticker.
This method creates crisp lines with almost zero artistic ability required. Your secret is safe with me.
8. Try a Silicone French Tip Stamper
A French tip stamper can help you create consistent curves across both hands. It works especially well if you struggle to use your non-dominant hand.
Paint a small amount of white polish onto the stamping surface, then gently press your nail into the polish. Roll rather than aggressively push the nail straight down.
Practice on one nail first so you can figure out the pressure and polish amount. Too much polish creates a thick tip, while too little leaves gaps.
Once you get the rhythm, this little gadget can become your manicure bestie.
9. Keep Your French Tips Thin
A delicate tip usually looks more modern than a thick white stripe. Micro French tips have become especially popular because they give short nails a clean, elongated appearance.
Aim for a tip that follows the natural curve of your nail. If you have short nails, keep the white section especially narrow.
Longer almond or coffin nails can handle a slightly thicker French tip. The key comes down to proportion.
Some people love bold French tips, but I’m firmly in the “thin line looks expensive” camp.
10. Clean Up the Edges
Made a tiny mistake? Don’t immediately remove the entire nail. Grab a small angled brush or precision cleanup brush and dip it into nail-polish remover.
Carefully trace around the edge of the French tip to sharpen the smile line. Use a light touch so you don’t accidentally erase the base underneath.
You can also clean polish from the skin around your nails before applying your top coat. That small detail makes a home manicure look dramatically more polished.
This is probably my favorite beginner trick because nobody needs to know the line looked wonky five minutes earlier.
11. Seal Everything With a Glossy Top Coat
Once your French tips look even, finish with a generous layer of high-shine top coat.
Float the brush lightly over the surface rather than pressing down hard. Too much pressure can drag the white polish and blur your carefully painted line.
Seal the free edge of the nail with the top coat too. That extra swipe helps reduce premature chipping.
Glossy French tips look timeless, clean, and ridiculously photogenic. Who doesn’t want nails that look like they belong in a beauty campaign?
12. Don’t Forget Nail Oil
Your manicure isn’t finished when the polish dries. Add cuticle oil around each nail to keep the surrounding skin soft and healthy-looking.
Apply a small drop and massage it into the cuticle area. Do this daily if your hands get dry, especially after washing them frequently.
If you want your French manicure to look expensive, moisturized cuticles make a surprisingly big difference. Dry skin can make even gorgeous nail art look unfinished.
Keep a tiny bottle beside your bed or at your desk. Future you will appreciate it.
13. Try a Colorful French Manicure
Classic white tips will never fail, but colorful French tips make the look feel fresh. Try baby blue, cherry red, lavender, butter yellow, chocolate brown, or soft green.
Keep your base sheer so the color remains the star. You can also use a different tip color on every nail for a playful Skittle-style manicure.
For a more sophisticated result, stick to one color family. Different shades of pink or earthy neutrals can look incredibly coordinated.
This version works especially well when your outfit already contains simple basics.
14. Add Chrome for Extra Glam
Want your French tips to look more dramatic? Add a chrome finish.
You can use chrome powder over the tips or choose a metallic polish in silver, gold, rose gold, or pearl. Keep the base simple so the reflective finish doesn’t overwhelm the manicure.
Silver chrome works beautifully with cool-toned jewelry, while gold chrome pairs naturally with warm neutrals and gold accessories.
Chrome intimidated me at first, but honestly? Once you try it, regular French tips suddenly start looking a little underdressed.
15. Make French Tips Work for Short Nails
You don’t need long nails to create a gorgeous French manicure. Short French tip nails can look incredibly elegant when you keep the design proportional.
Choose a sheer pink base and a very thin white line. Rounded, oval, or squoval shapes can visually soften short nails and keep the overall look balanced.
Avoid painting an oversized tip because it can make the nail appear shorter. A narrow curve creates a cleaner visual effect.
This style gives you salon-level polish without sacrificing practicality. And yes, you can still open a soda can without launching your manicure across the room.
16. Experiment With Reverse French Tips
Feeling adventurous? Try a reverse French manicure by placing the contrasting color near the cuticle instead of the nail tip.
Start with your nude base, then add a curved line following the cuticle in white, black, chrome, or a bright color. Keep the line thin for a sophisticated finish.
This design works beautifully on almond and oval nails because the curved detail follows the natural shape.
It’s subtle enough for everyday wear but different enough to make people ask where you got your nails done.
17. Add Tiny Nail Art
French tips provide the perfect background for tiny details. Add mini flowers, hearts, stars, bows, pearls, or rhinestones to one or two accent nails.
Don’t decorate every nail unless you genuinely love maximalist nail art. A couple of small details usually create a more balanced result.
For a romantic manicure, try tiny white flowers with pearl centers. For something cooler, add miniature silver stars over a chrome French tip.
The best nail art makes you smile every time you notice your hands. That’s the whole point, right?
18. Pick the Right French Tip for Your Style
Your manicure should match your personality, not just whatever trend currently dominates your feed.
Try these combinations:
- Classic: sheer pink base + white tips
- Minimalist: nude base + micro French tips
- Glam: milky base + chrome tips
- Playful: pastel Skittle French tips
- Edgy: sheer nude + black French tips
- Romantic: blush base + floral French details
Think about your wardrobe too. If you wear lots of neutrals, almost any French variation works. If your closet already features bright colors, colorful tips can pull everything together.
19. Make Your Manicure Last Longer
A little maintenance can stretch the life of your French tip nails. Wear gloves while cleaning, avoid using your nails as tools, and apply cuticle oil regularly.
If one tip chips, don’t panic. Carefully smooth the damaged edge with a fine nail file and touch up the white polish.
Add another thin layer of top coat every few days if your manicure still looks fresh. That extra shine can revive the whole look.
Basically, treat your nails like accessories instead of tiny screwdrivers. Your manicure will thank you.
20. Know When to Visit the Salon
Sometimes DIY nails simply need professional help, especially if you want intricate art, extensions, or a very precise shape.
Save a Pinterest reference photo before your appointment and show your nail tech exactly what you want. Mention your preferred nail length, shape, base color, tip thickness, and finish.
If you love the French look but struggle with your non-dominant hand, a salon can create perfectly balanced tips quickly.
And honestly, there’s nothing wrong with outsourcing the stressful part. Sometimes self-care means sitting down while someone else makes your nails gorgeous. ✨
Final Thoughts
Perfect French tip nails at home don’t require flawless artistic skills. They require good prep, thin polish layers, a steady hand, and a little patience.
Start with a classic white French manicure, then experiment with micro tips, colorful edges, chrome finishes, or tiny nail art once you feel confident. Great manicure inspiration doesn’t need to stay on your Pinterest board forever.
Pick your favorite style, grab your polish, and give it a try this weekend. Because life is too short for boring nails—and your fingertips deserve their little main-character moment.