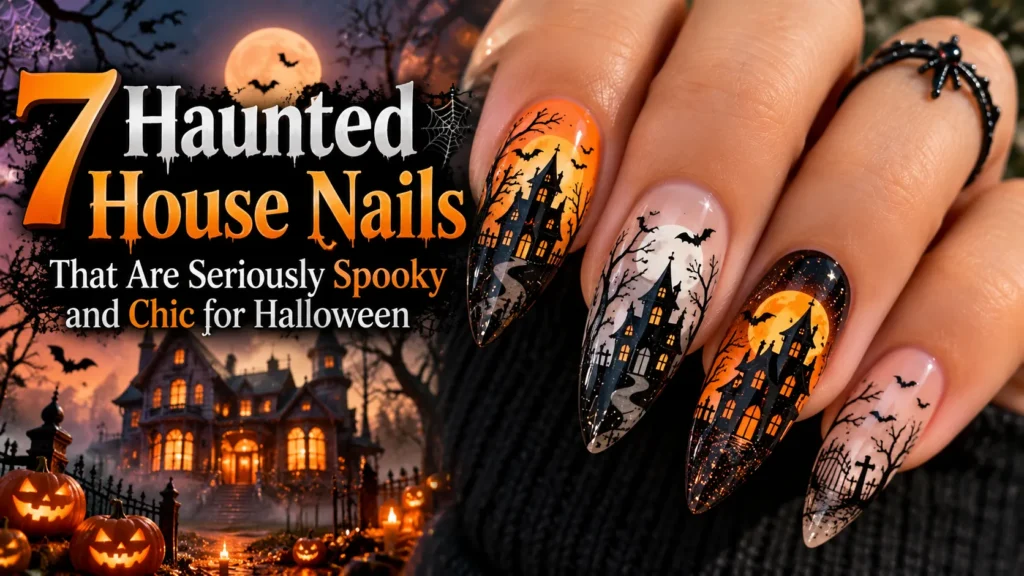
Halloween nails are getting a little darker this season, and honestly, I’m here for it. Cute pumpkins and tiny ghosts will always have their moment, but haunted house nails bring something completely different to your manicure. Think mysterious silhouettes, glowing windows, midnight skies, and just enough spooky detail to make someone look twice.
The best part? You don’t need ridiculously long nails or complicated designs to pull off this look. Whether you love dramatic acrylics or prefer short, natural nails, there’s a haunted house manicure that can match your style.
If you’re planning your next Halloween salon appointment or simply want to experiment with nail art at home, these seven haunted house nail ideas offer plenty of inspiration. Some are bold, some are surprisingly elegant, and a few look like tiny Halloween movie scenes right on your fingertips.
1. Classic Black Haunted House Nails With Glowing Windows
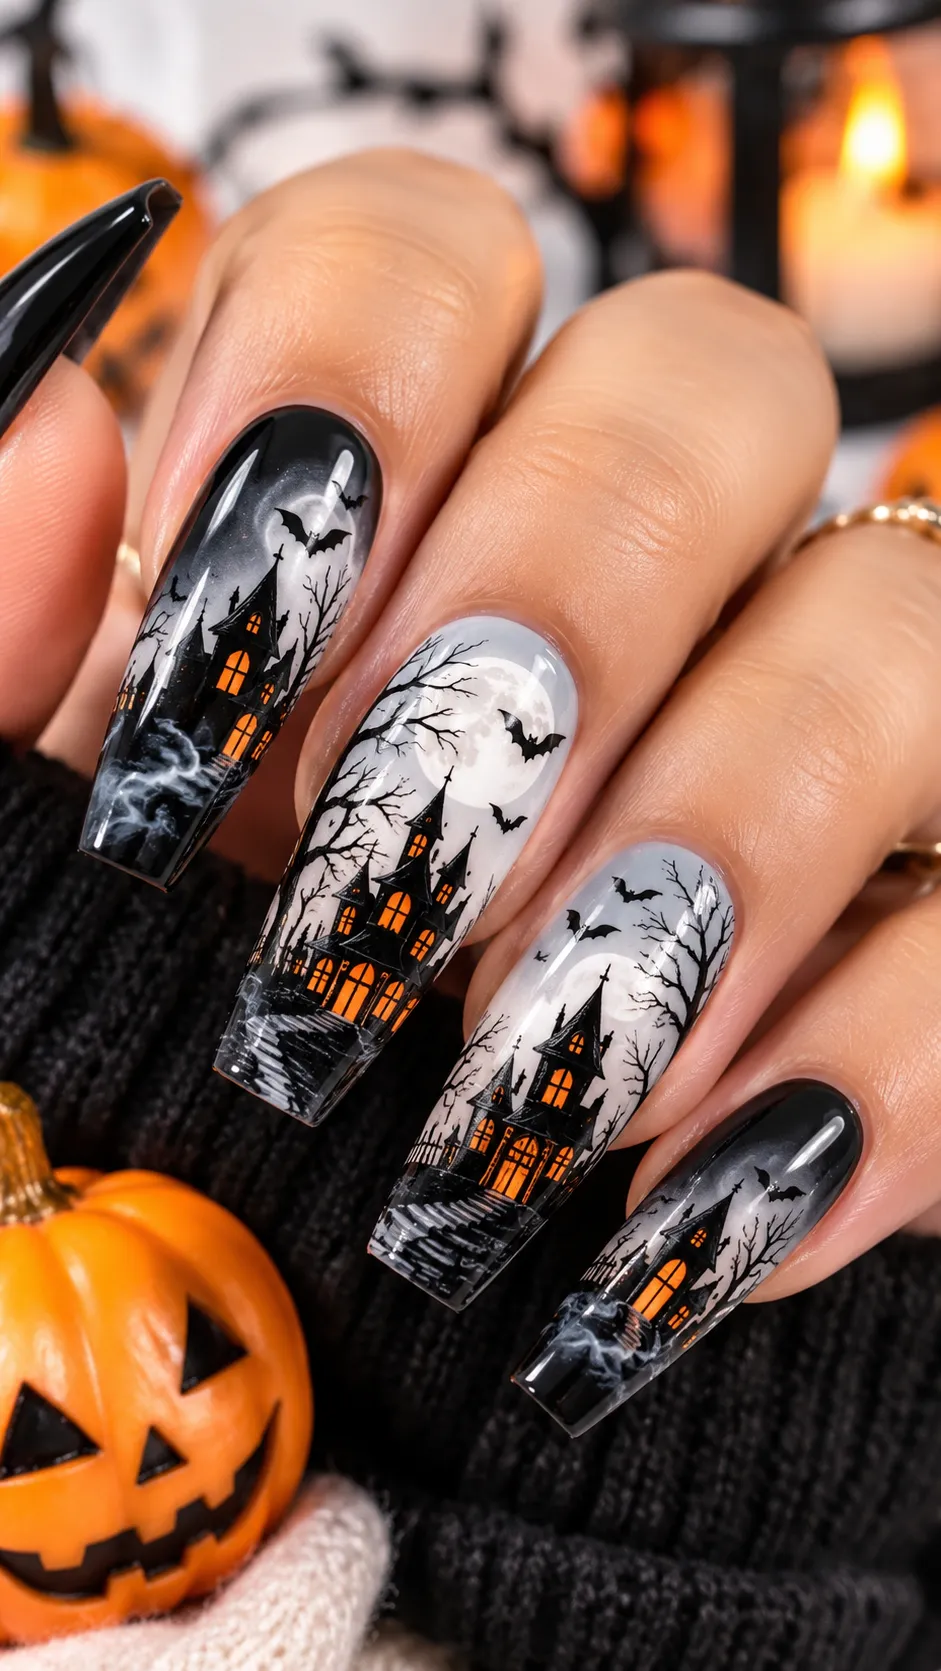
If you want Halloween nails that instantly create a spooky atmosphere, start with a classic black haunted house design. It’s dramatic without looking messy, and the tiny glowing windows make the whole manicure feel like a miniature haunted neighborhood.
Choose a deep midnight blue or smoky purple base to create the appearance of a nighttime sky. Add black haunted house silhouettes with crooked rooftops, narrow towers, and little chimneys. Finish the houses with tiny yellow or orange windows that look like someone left the lights on inside.
For the prettiest result, keep the haunted house artwork on one or two accent nails. Paint the remaining nails glossy black or dark purple. This gives the detailed artwork enough attention without making every nail compete for the spotlight.
I especially love this design on medium almond nails because the shape gives the houses enough room while keeping the manicure elegant. It’s spooky, stylish, and surprisingly wearable with everyday fall outfits.
2. Purple Haunted House Nails With a Full Moon
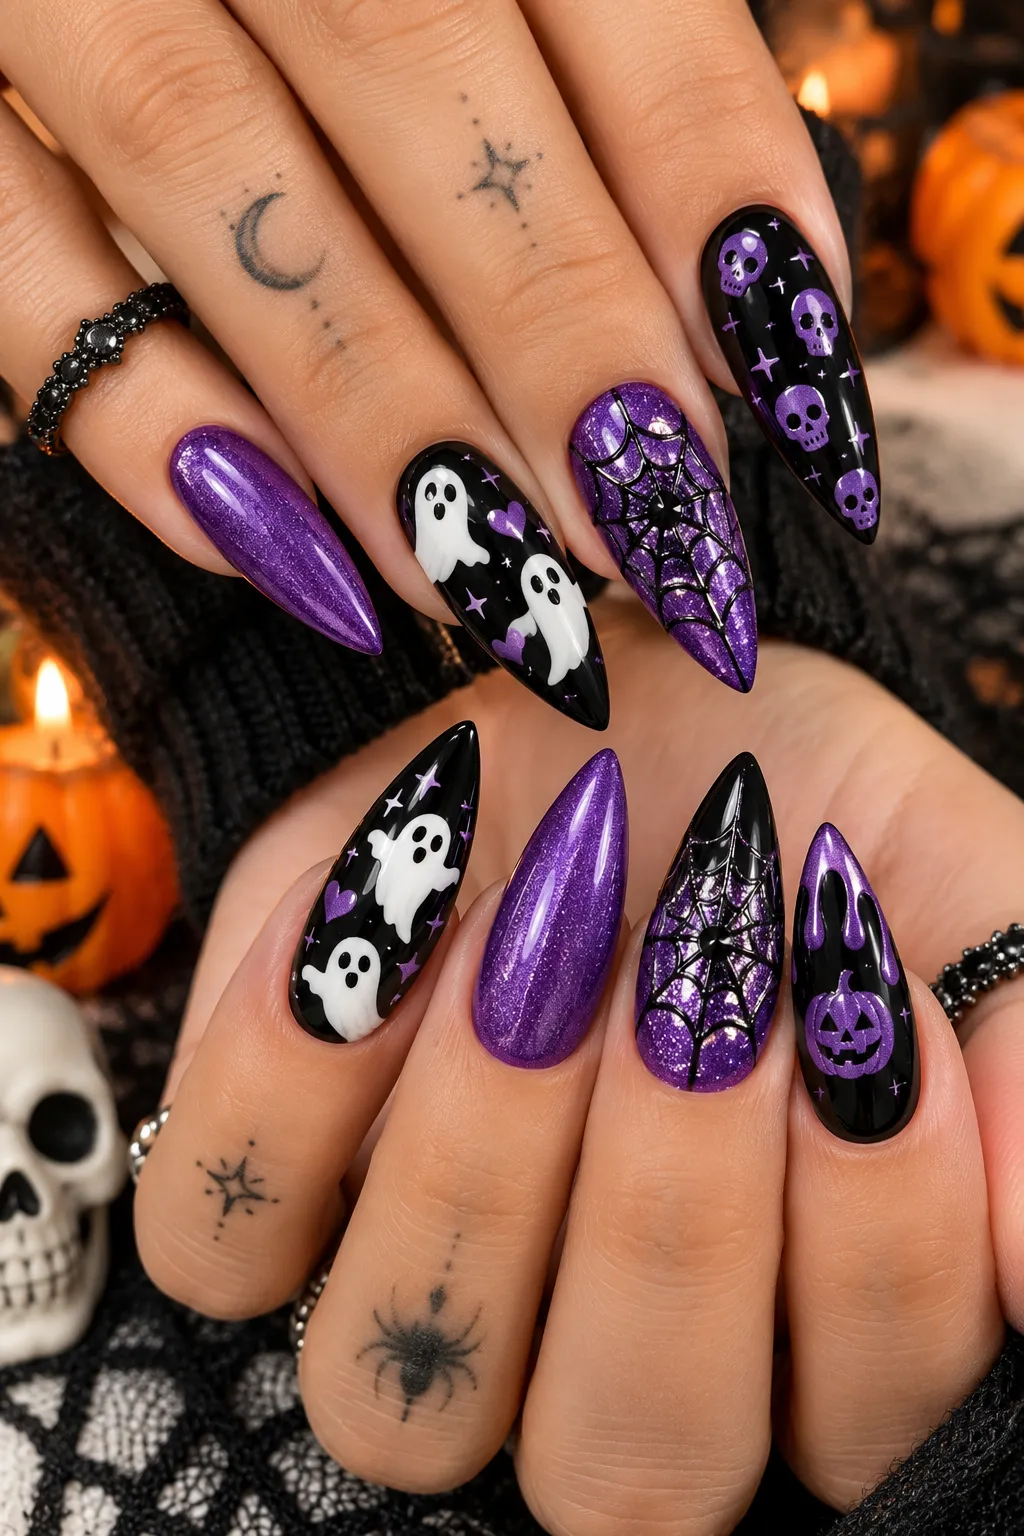
Purple Halloween nails always have a certain mysterious charm, especially when you pair them with a glowing moon and a creepy little house.
Start with a dark violet base and blend a lighter lavender shade toward the center of each nail. This creates a soft nighttime glow without requiring complicated nail art techniques. Add a pale yellow or white moon near the tip, then paint a black haunted house silhouette underneath.
A few tiny bats flying across the moon can make the design even more interesting. Just don’t overcrowd the nail. Sometimes three little bats look more effective than an entire flying army.
For this manicure, I would choose a glossy finish rather than matte. The shine makes the purple shades look richer and helps the moon stand out.
This look works beautifully on coffin or almond nails, especially if you love Halloween designs that feel a little magical rather than completely terrifying. Pair it with silver rings and a black sweater for an effortlessly coordinated October look.
3. Minimalist Haunted House French Tip Nails
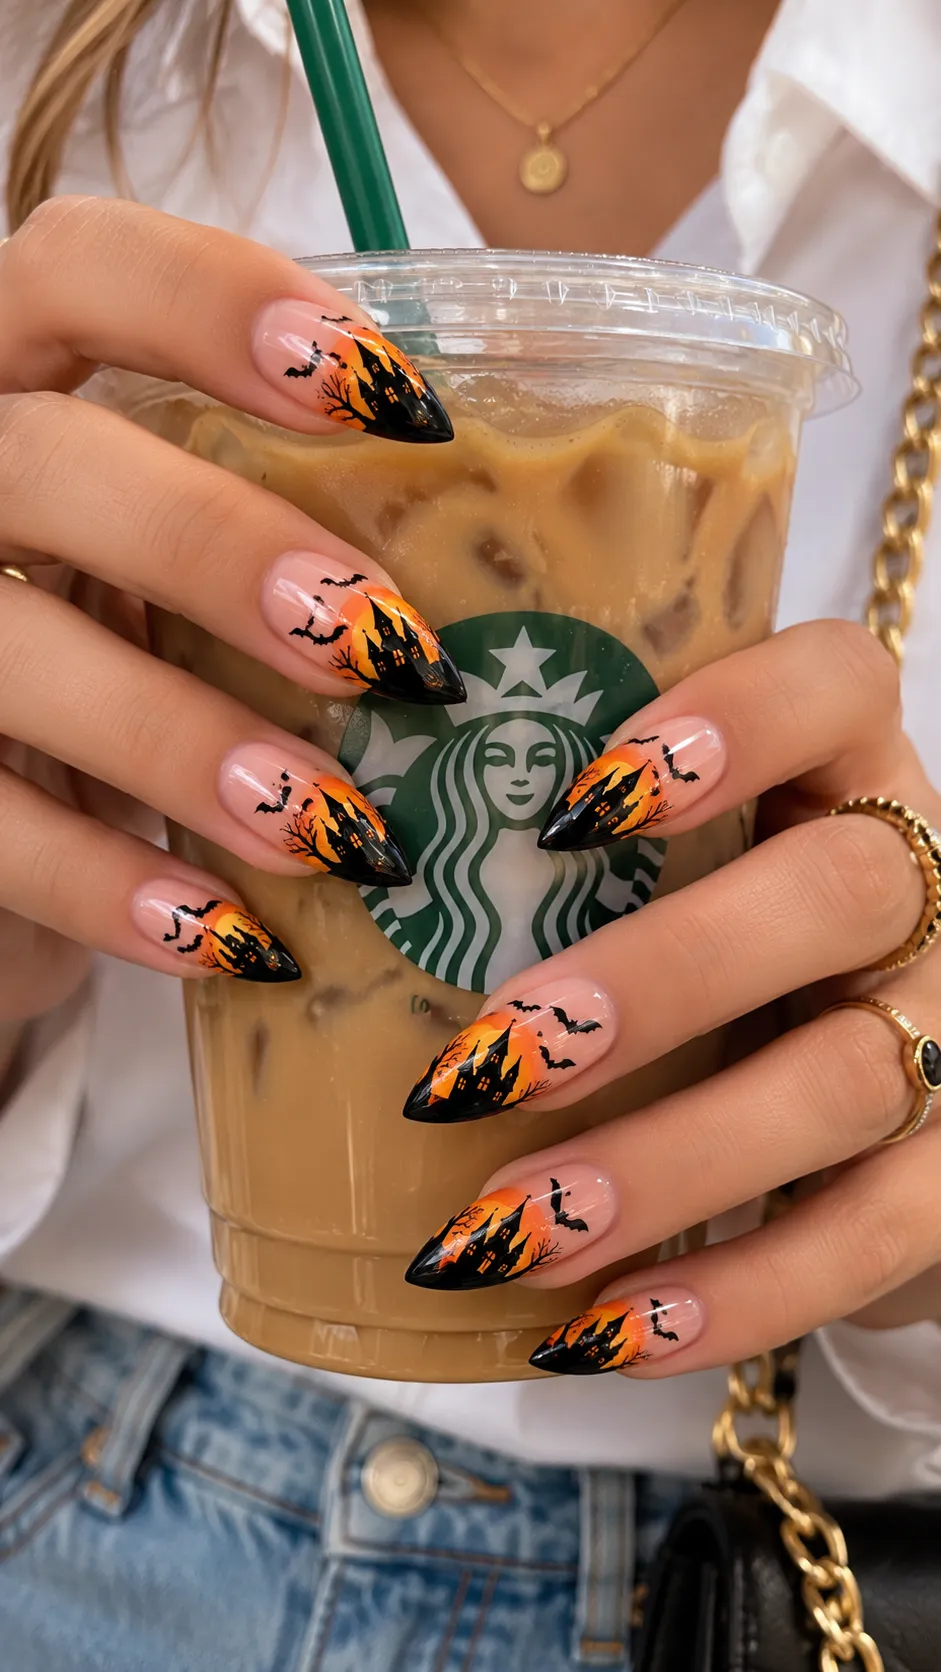
Not everyone wants their Halloween manicure to look like a full horror movie poster. Sometimes a tiny spooky detail is all you need.
That’s where haunted house French tip nails come in. They combine the clean appearance of a classic French manicure with a playful Halloween twist.
Start with a sheer nude or milky pink base. Instead of traditional white tips, create thin black French tips with slightly uneven edges. On one accent nail, add a miniature haunted house silhouette near the tip. A tiny crescent moon or single bat can complete the design.
The trick is keeping the artwork small and the lines clean. Use a fine nail art brush or ask your nail technician for a simple silhouette rather than a detailed building.
I actually prefer this version on short square or medium almond nails. It looks polished enough for work, coffee dates, and everyday errands while still showing a little Halloween personality.
If you want spooky nails without committing to a completely dark manicure, this is probably your best option.
4. Orange Sunset Haunted House Nails
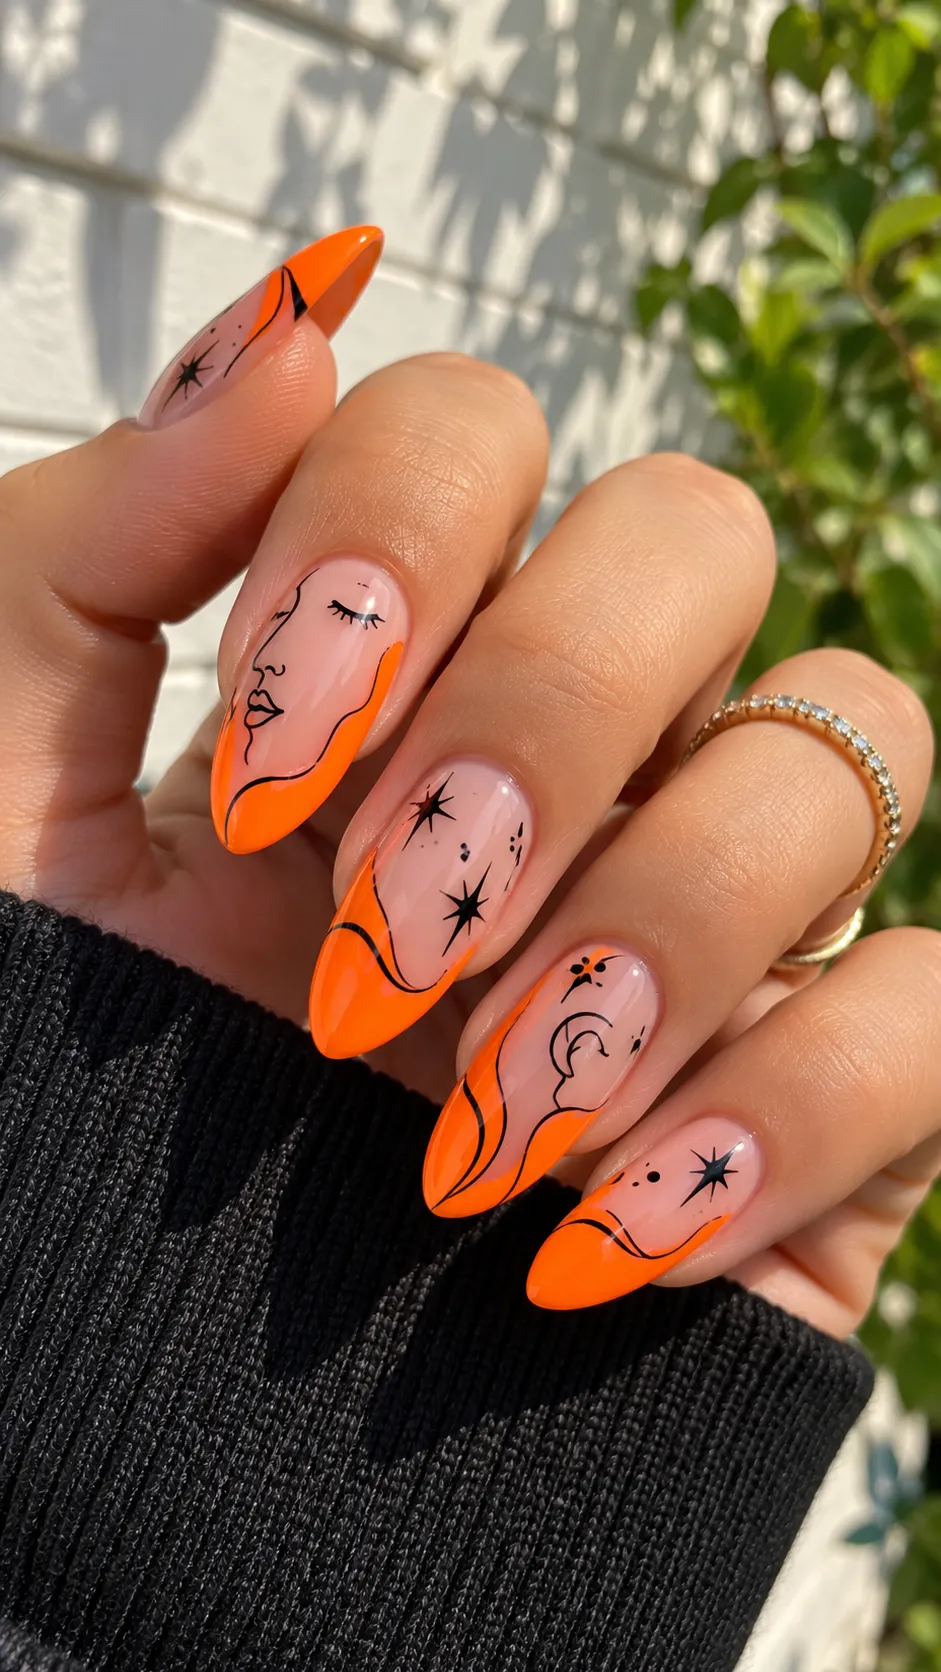
Who says haunted houses only look good against dark skies?
An orange sunset background creates a completely different Halloween mood. It feels warm, dramatic, and slightly mysterious, like the final scene of a spooky autumn movie.
Begin with a burnt orange base and blend it into golden yellow near the center. You can add a touch of deep red around the edges to create extra depth. Once the background dries, paint a black haunted house silhouette across the lower half of the nail.
Add a few crooked tree branches or flying bats if you have enough space. The contrast between the warm background and dark artwork makes the design stand out beautifully.
For an easier version, use the sunset effect on two accent nails and paint the others solid burnt orange or glossy black.
This manicure looks especially striking on long coffin nails, but medium square nails work just as well. It’s a great choice if you love traditional Halloween colors but want something more creative than basic orange and black polish.
And yes, it looks gorgeous next to a chunky cream sweater. Halloween nails and cozy fall outfits really are a perfect match.
5. Matte Black Haunted House Nails With Tiny Ghosts
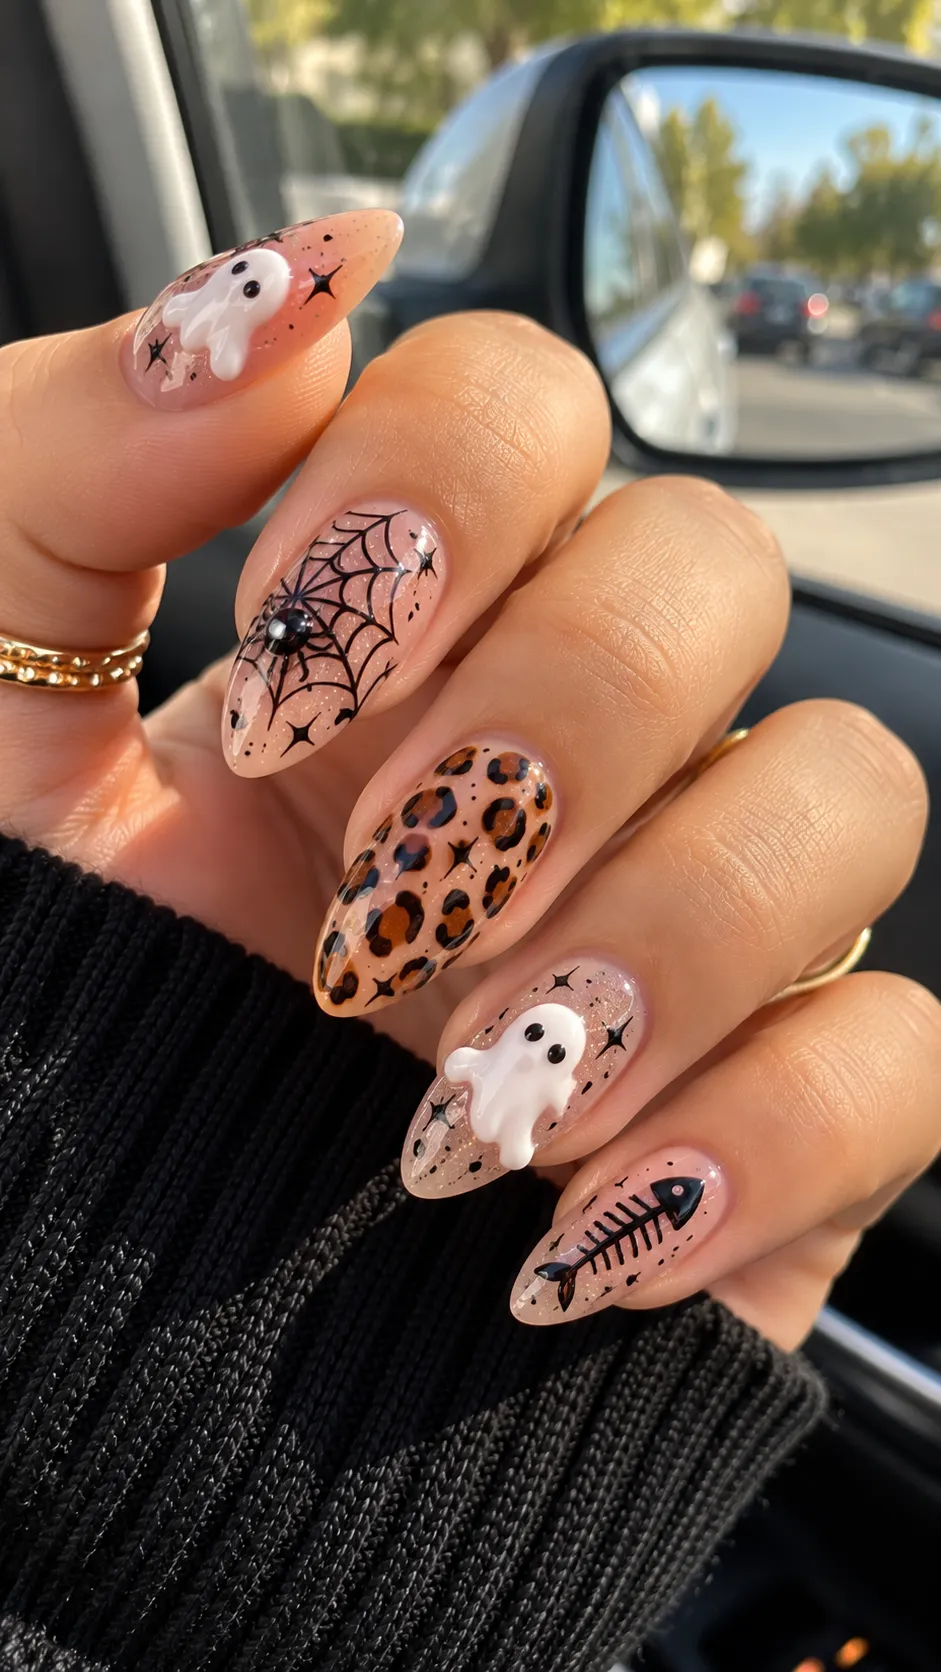
There’s something about matte black nails that instantly makes a manicure look more expensive. Add a few tiny ghosts and a haunted house, and suddenly you’ve got a Halloween design that’s both creepy and cute.
Start with a solid black base and apply a matte top coat. On one or two nails, paint a haunted house using dark gray polish so the silhouette appears subtly against the black background.
Then add tiny white ghosts floating around the house. Keep their shapes simple with rounded heads, wavy bottoms, and little black eyes.
The white ghosts create a beautiful contrast against the matte background without making the design feel overly busy.
Here’s a little styling trick. Leave some nails completely black and decorate only two or three. This makes the manicure look intentional rather than overcrowded.
I love this design on medium coffin nails because the flat surface gives the artwork room to breathe. It also pairs beautifully with silver jewelry, leather jackets, and dark fall outfits.
The combination of matte black and playful ghosts gives you the best of both worlds. A little spooky, a little adorable, and definitely not boring.
6. Gothic Haunted House Nails With Blood Red Details
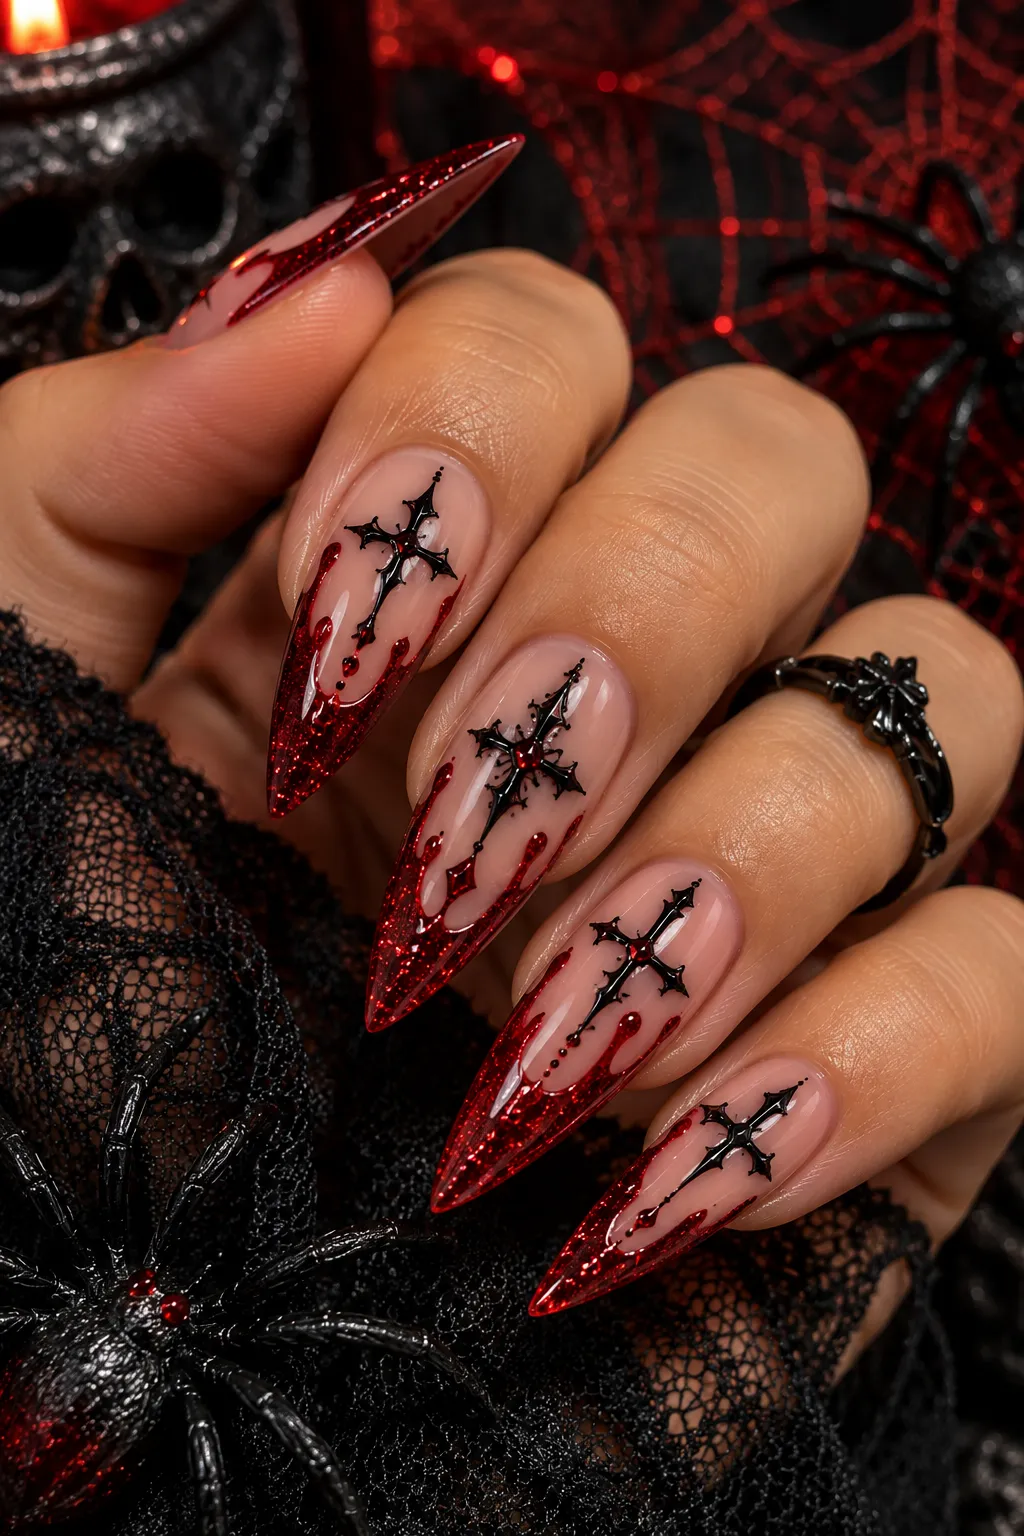
If your Halloween style leans more mysterious and dramatic, this gothic haunted house manicure might be the one.
Instead of bright Halloween colors, use a combination of deep burgundy, black, and smoky gray. These shades create a darker, more sophisticated appearance that works beautifully throughout autumn.
Paint most of your nails glossy burgundy. On one accent nail, create a gray nighttime background and add a black haunted house silhouette. You can include pointed rooftops, narrow windows, and a few twisted tree branches.
For extra drama, add a tiny red moon above the house or use a subtle red glitter polish on one nail.
I would avoid adding too many decorations here. The rich colors already make a strong statement, and too much artwork can take away from the elegant gothic effect.
Long almond or stiletto nails look especially beautiful with this design, although shorter almond nails can make it more practical for everyday wear.
This is the kind of manicure that looks amazing with black dresses, burgundy sweaters, and gold jewelry. It feels Halloween appropriate without becoming something you’ll want to remove the moment October ends.
7. Glittery Haunted House Nails With a Starry Night Sky
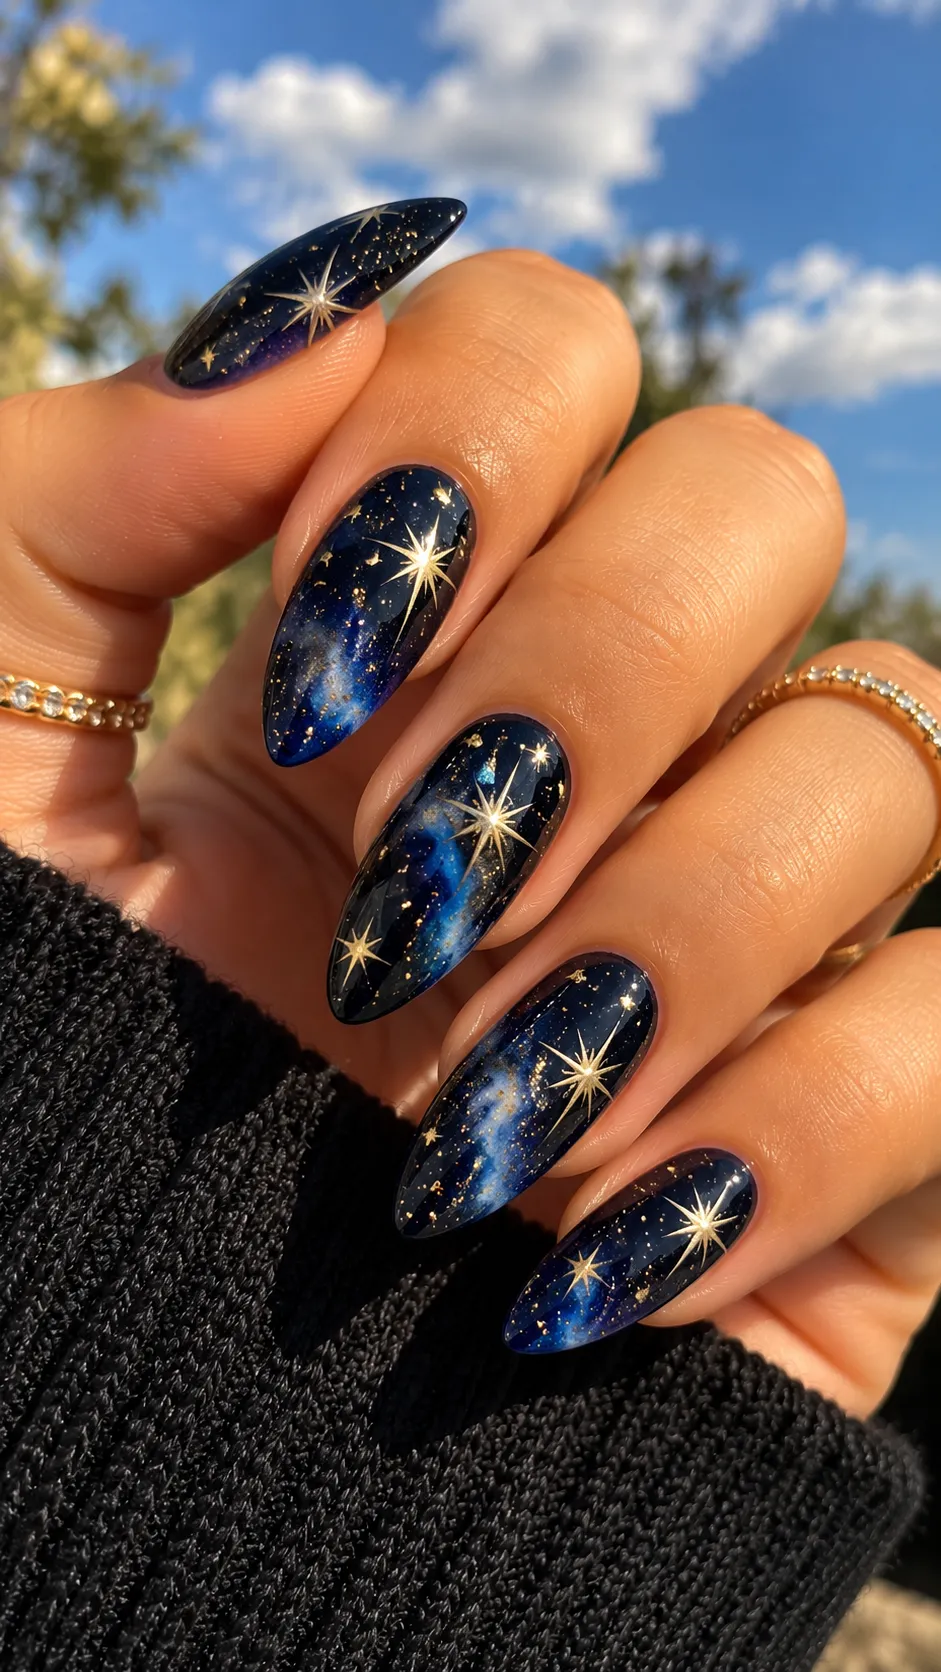
Want a haunted house manicure with a little sparkle? This design brings the perfect balance of spooky details and glamorous shine.
Start with a navy blue or dark purple base and add a thin layer of fine silver glitter. The glitter should resemble tiny stars scattered across the night sky rather than chunky party confetti.
On one or two nails, paint a small haunted house silhouette near the bottom. Add a pale moon, a few stars, and maybe one tiny bat flying overhead.
For the remaining nails, keep the starry background simple. You can even add a single silver star near the cuticle for a delicate finishing touch.
A glossy top coat works beautifully here because it enhances the sparkle and gives the manicure a smooth finish.
I particularly like this design on almond nails. The rounded shape complements the dreamy nighttime background and makes the entire manicure feel softer.
It’s a lovely option if you want Halloween nail art that feels magical, stylish, and a little glamorous. You could easily wear this manicure to a Halloween party and keep it for another week afterward.
How to Choose the Best Haunted House Nail Design?
With so many Halloween nail ideas available, choosing just one can feel surprisingly difficult. The easiest approach is to think about your usual style and how much nail art you actually enjoy wearing.
If you prefer simple manicures, try minimalist haunted house French tips. They give you a festive look without covering every nail in artwork.
If you love bold designs, go for orange sunset nails or gothic burgundy shades. Both make a statement and photograph beautifully.
For something playful, matte black nails with tiny ghosts are a great choice. They feel spooky without looking too serious.
Your nail length matters too. Short nails usually look better with one small haunted house or simple silhouette, while longer nails give you room for detailed rooftops, moons, and trees.
And remember, you don’t need to copy every detail from an inspiration photo. Sometimes simplifying a complicated design creates an even prettier manicure.
Easy Tips for Creating Haunted House Nails at Home
You don’t need professional nail art skills to experiment with haunted house nails, although a little patience definitely helps.
Start with a clean nail surface and apply a base coat. Choose your background color and allow it to dry completely before adding artwork.
A thin nail art brush makes drawing rooftops and crooked windows much easier. You can also use a dotting tool for moons, stars, and tiny ghost eyes.
If drawing houses feels intimidating, try Halloween nail stickers or stamping plates. They create detailed designs without requiring you to paint every little window by hand.
Here are a few helpful tools worth keeping nearby:
- Fine nail art brush for haunted house silhouettes
- Dotting tool for moons, stars, and ghost faces
- Black and white nail polish for details
- Makeup sponge for blended sunset backgrounds
- Glossy or matte top coat for your preferred finish
One thing I wouldn’t skip is the top coat. It protects your artwork and helps your manicure last longer.
Apply it gently once your design dries, especially if you’ve painted tiny details that could smudge.
Best Nail Shapes for Haunted House Designs
The right nail shape can make your Halloween artwork look even better.
Almond nails are a versatile choice because their soft pointed shape works with both elegant and dramatic designs.
Coffin nails provide more surface area for detailed haunted houses, making them ideal for intricate Halloween scenes.
Square nails look especially cute with minimalist French tips and simple ghost decorations.
If you prefer shorter nails, don’t feel pressured to get extensions just for Halloween. A small black haunted house on a nude or purple background can look just as stylish.
IMO, a well-balanced design on short nails often looks more polished than an overcrowded design on longer ones.
Choose a shape that fits your daily routine. Beautiful nails are great, but being able to use your hands comfortably is pretty important too.
How to Make Your Halloween Manicure Last Longer?
Halloween nail art takes time, so naturally, you want it to last beyond the first day.
Start by cleaning your nails and removing any leftover oils before applying polish. A good base coat helps the color adhere more evenly.
Apply thin layers instead of one thick coat. Thin coats dry more consistently and reduce the chances of dents or smudges.
Seal the free edge of each nail with your top coat to help prevent early chipping.
Try wearing gloves while washing dishes or using strong cleaning products. Hot water and harsh cleaners can shorten the life of regular polish.
Finally, apply cuticle oil daily to keep the skin around your nails looking healthy.
These little habits can help your haunted house manicure stay beautiful throughout your Halloween plans.
Final Thoughts
Haunted house nails are such a fun way to celebrate Halloween without changing your entire beauty routine.
Whether you love classic black silhouettes, glowing purple moons, minimalist French tips, or glittery nighttime skies, there’s a design that can match your personal style.
My favorite part about these manicures is how easily you can customize them. A tiny ghost, a crooked rooftop, or a glowing window can turn an ordinary nail color into something memorable.
So save your favorite design, pick out your polish colors, and give your next manicure a spooky little upgrade.
Because Halloween only comes once a year, and your nails deserve to have a little fun too.